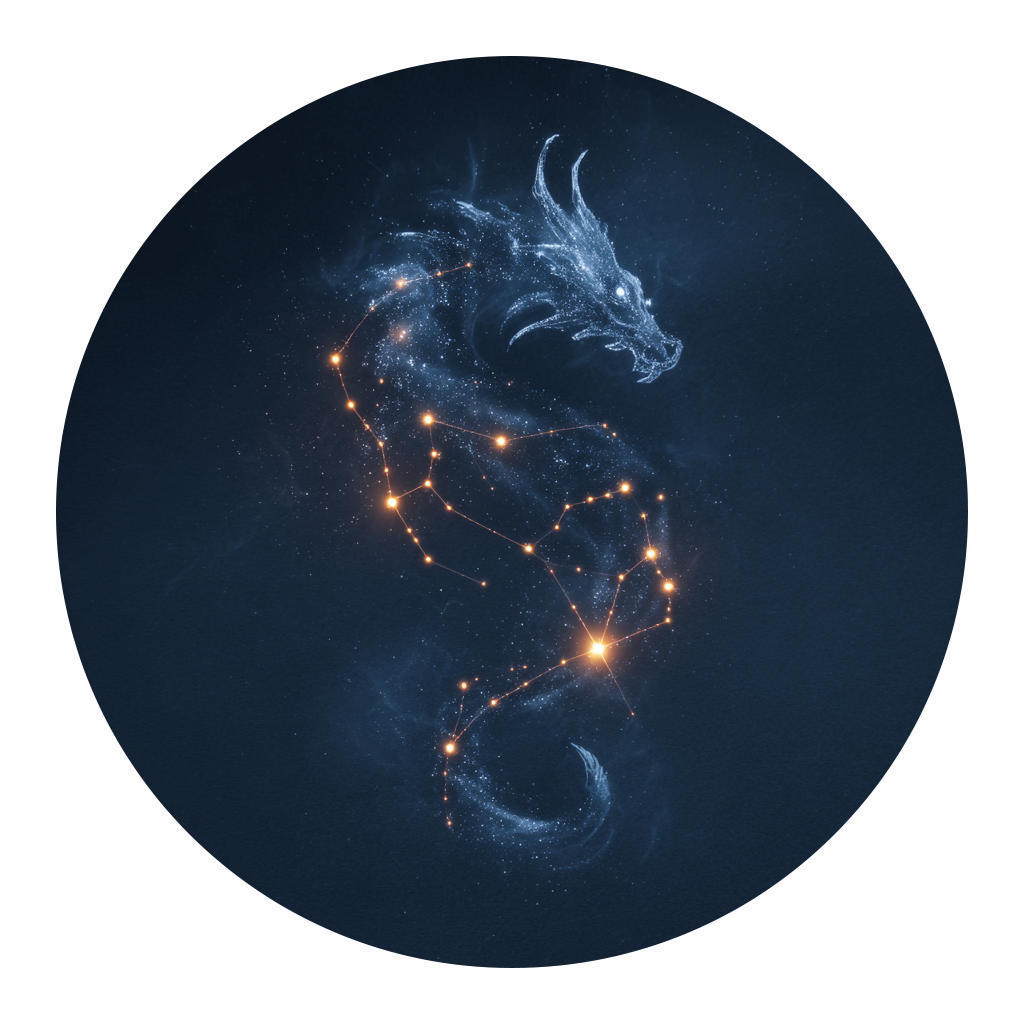
Approaching new projects is always a great joy and a privilege. To tackle the challenges of a build head on can help us grow as creators, builders, and artists. Recently, we’ve finished a unique project that has had me learning new techniques and skills. I’d like to take some time to share that project with you.
Recently, we were commissioned to make a variation of one of our publicly listed projects- The Winding Dragon Garden Statue. It depicts the form of a dragon, winding in and out of the ground in two parts. The project that was requested wanted something similar- but winding in and out of the ceiling in three parts, with its head twisted to be looking down at the people below it. In addition, they requested three additional decorative coins in the same style as the sculpture, to compliment both the dragon, and the design of its space.
It would be a challenge, but we’re always ready to rise to the task!
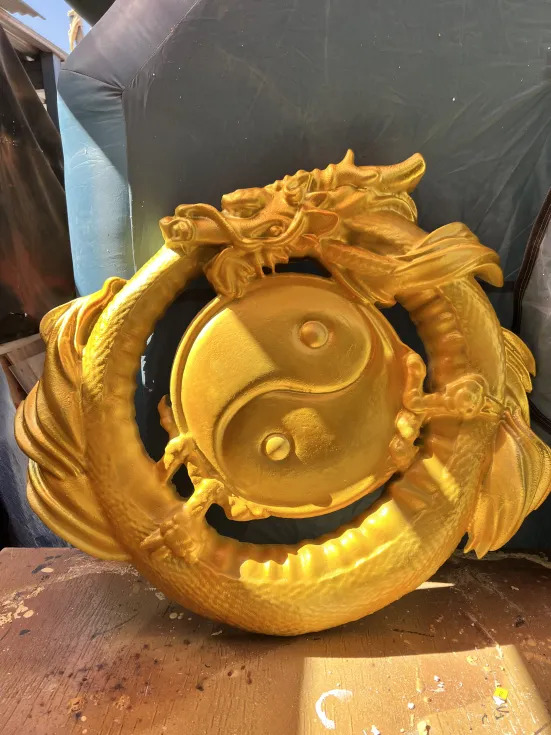
As always, we began with the design and modeling to make our 3D Rendering. Given the complex shape, this step took some time. Luckily, we were able to adjust a lot of what we had for the piece- as they still enjoyed a lot of the details our piece on Etsy had. Shaping was our primary focus, as well as the creation of a tail end for the sculpture. We also needed to design the decorative coins that would accompany the piece.
Afterwards. it was time to cut the piece out! This part was a bit tricky. With all the angles and twists of the piece, it turned out to be a lot more difficult than we originally thought to find a good way to section the design out. In the end, we were able to find a way that involved different joints- like one might use in carpentry, to create the angles that we needed, while still preserving the structure and stability of the project. With all this in mind, the cuts almost took a week themselves. With so many parts so spread out, we had to work through a few sheets of foam to get everything we needed.
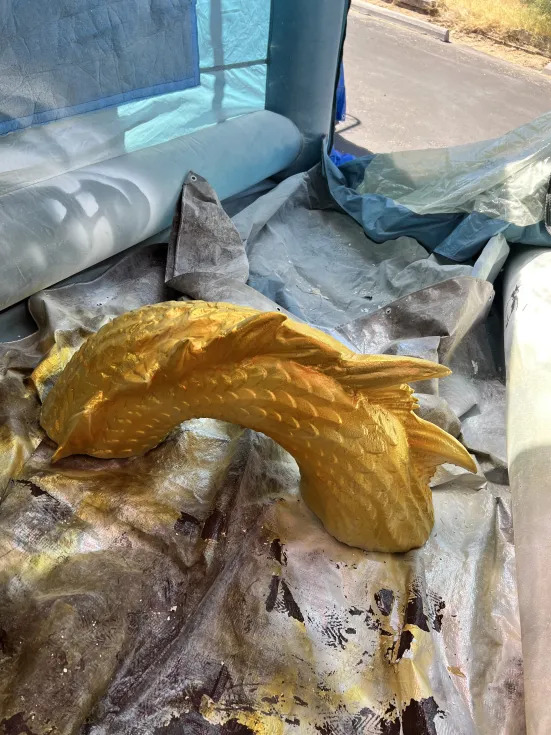
Putting everything together was an interesting process as well. In order to assemble it, we had to use an variety of techniques we’ve used in other builds. With so many parts, there wasn’t a “one size fits all” solution to adhere the parts to one another. In the end, we ended up using a combination of foaming glue, metal and wooden dowels, and even small wooden boards in order to make a solid anchor to hang the pieces from the ceiling.
We did run into a problem during the process as well. With so many pieces, and with such a high level of detail, a lot of smaller pieces easily fell off. In order to repair the sculpture, and ensure sturdiness in the long run, we used a combination of the methods above- foaming glue, dowels, and additionally, we added a thin layer of seaming putty in order to create a smooth surface for the final finish. This also added an additional structural layer as well, helping with the sculptures durability.
With it all assembled, we began to spray the pieces with our normal urethane sealing spray to make the outside of the sculptures smooth and sturdy. While it was an extensive process with so many sculptures, it ended up being fairly routine.
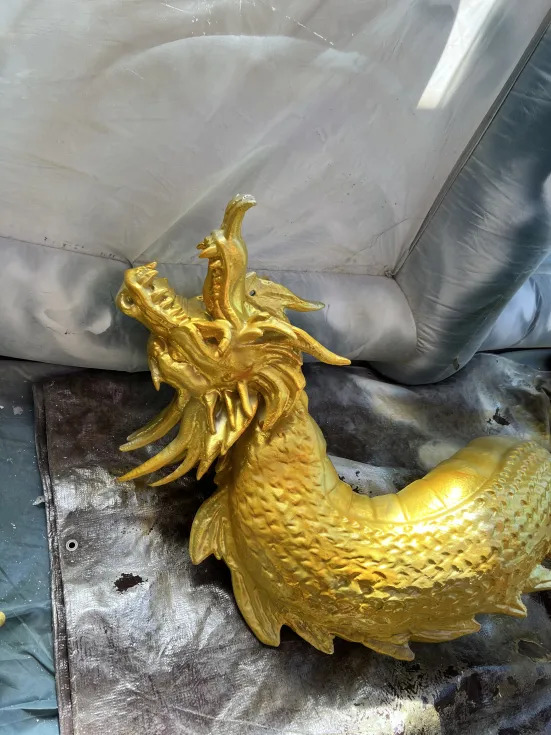
Where we really began running into trouble was with the painting on the outside. It had been requested to make the sculptures gold, with a very high gloss. We wouldn’t be able to achieve the level they were looking for with gold paint alone, and it was too dark a shade as well. So we needed to get creative.
We ended up looking at a mirror finish of silver. After priming the pieces, each sculpture got a coat of this very reflective and glossy silver that really caught the light. But there’s a clear problem with it- it’s silver, not gold. We needed to find that level of sheen in the golden shade we were wanting. To solve this, we ended up using a clear coat resin, one we dyed with yellow and red. Finding the right shade was a process, requiring some extensive experimentation- trial and error. But we did end up finding the right shade.
In applying the clear coat, it didn’t take the gold like we were thinking though, nor did the color seem to apply evenly. It actually took three to four coats of the same material to get the saturation of color, and the evenness of tone we were looking for. But all of it was worth it in the end, to get that incredible golden color over the sculptures. Just take a look at them!
